Cloud Migration
Howto migrate to Cloud
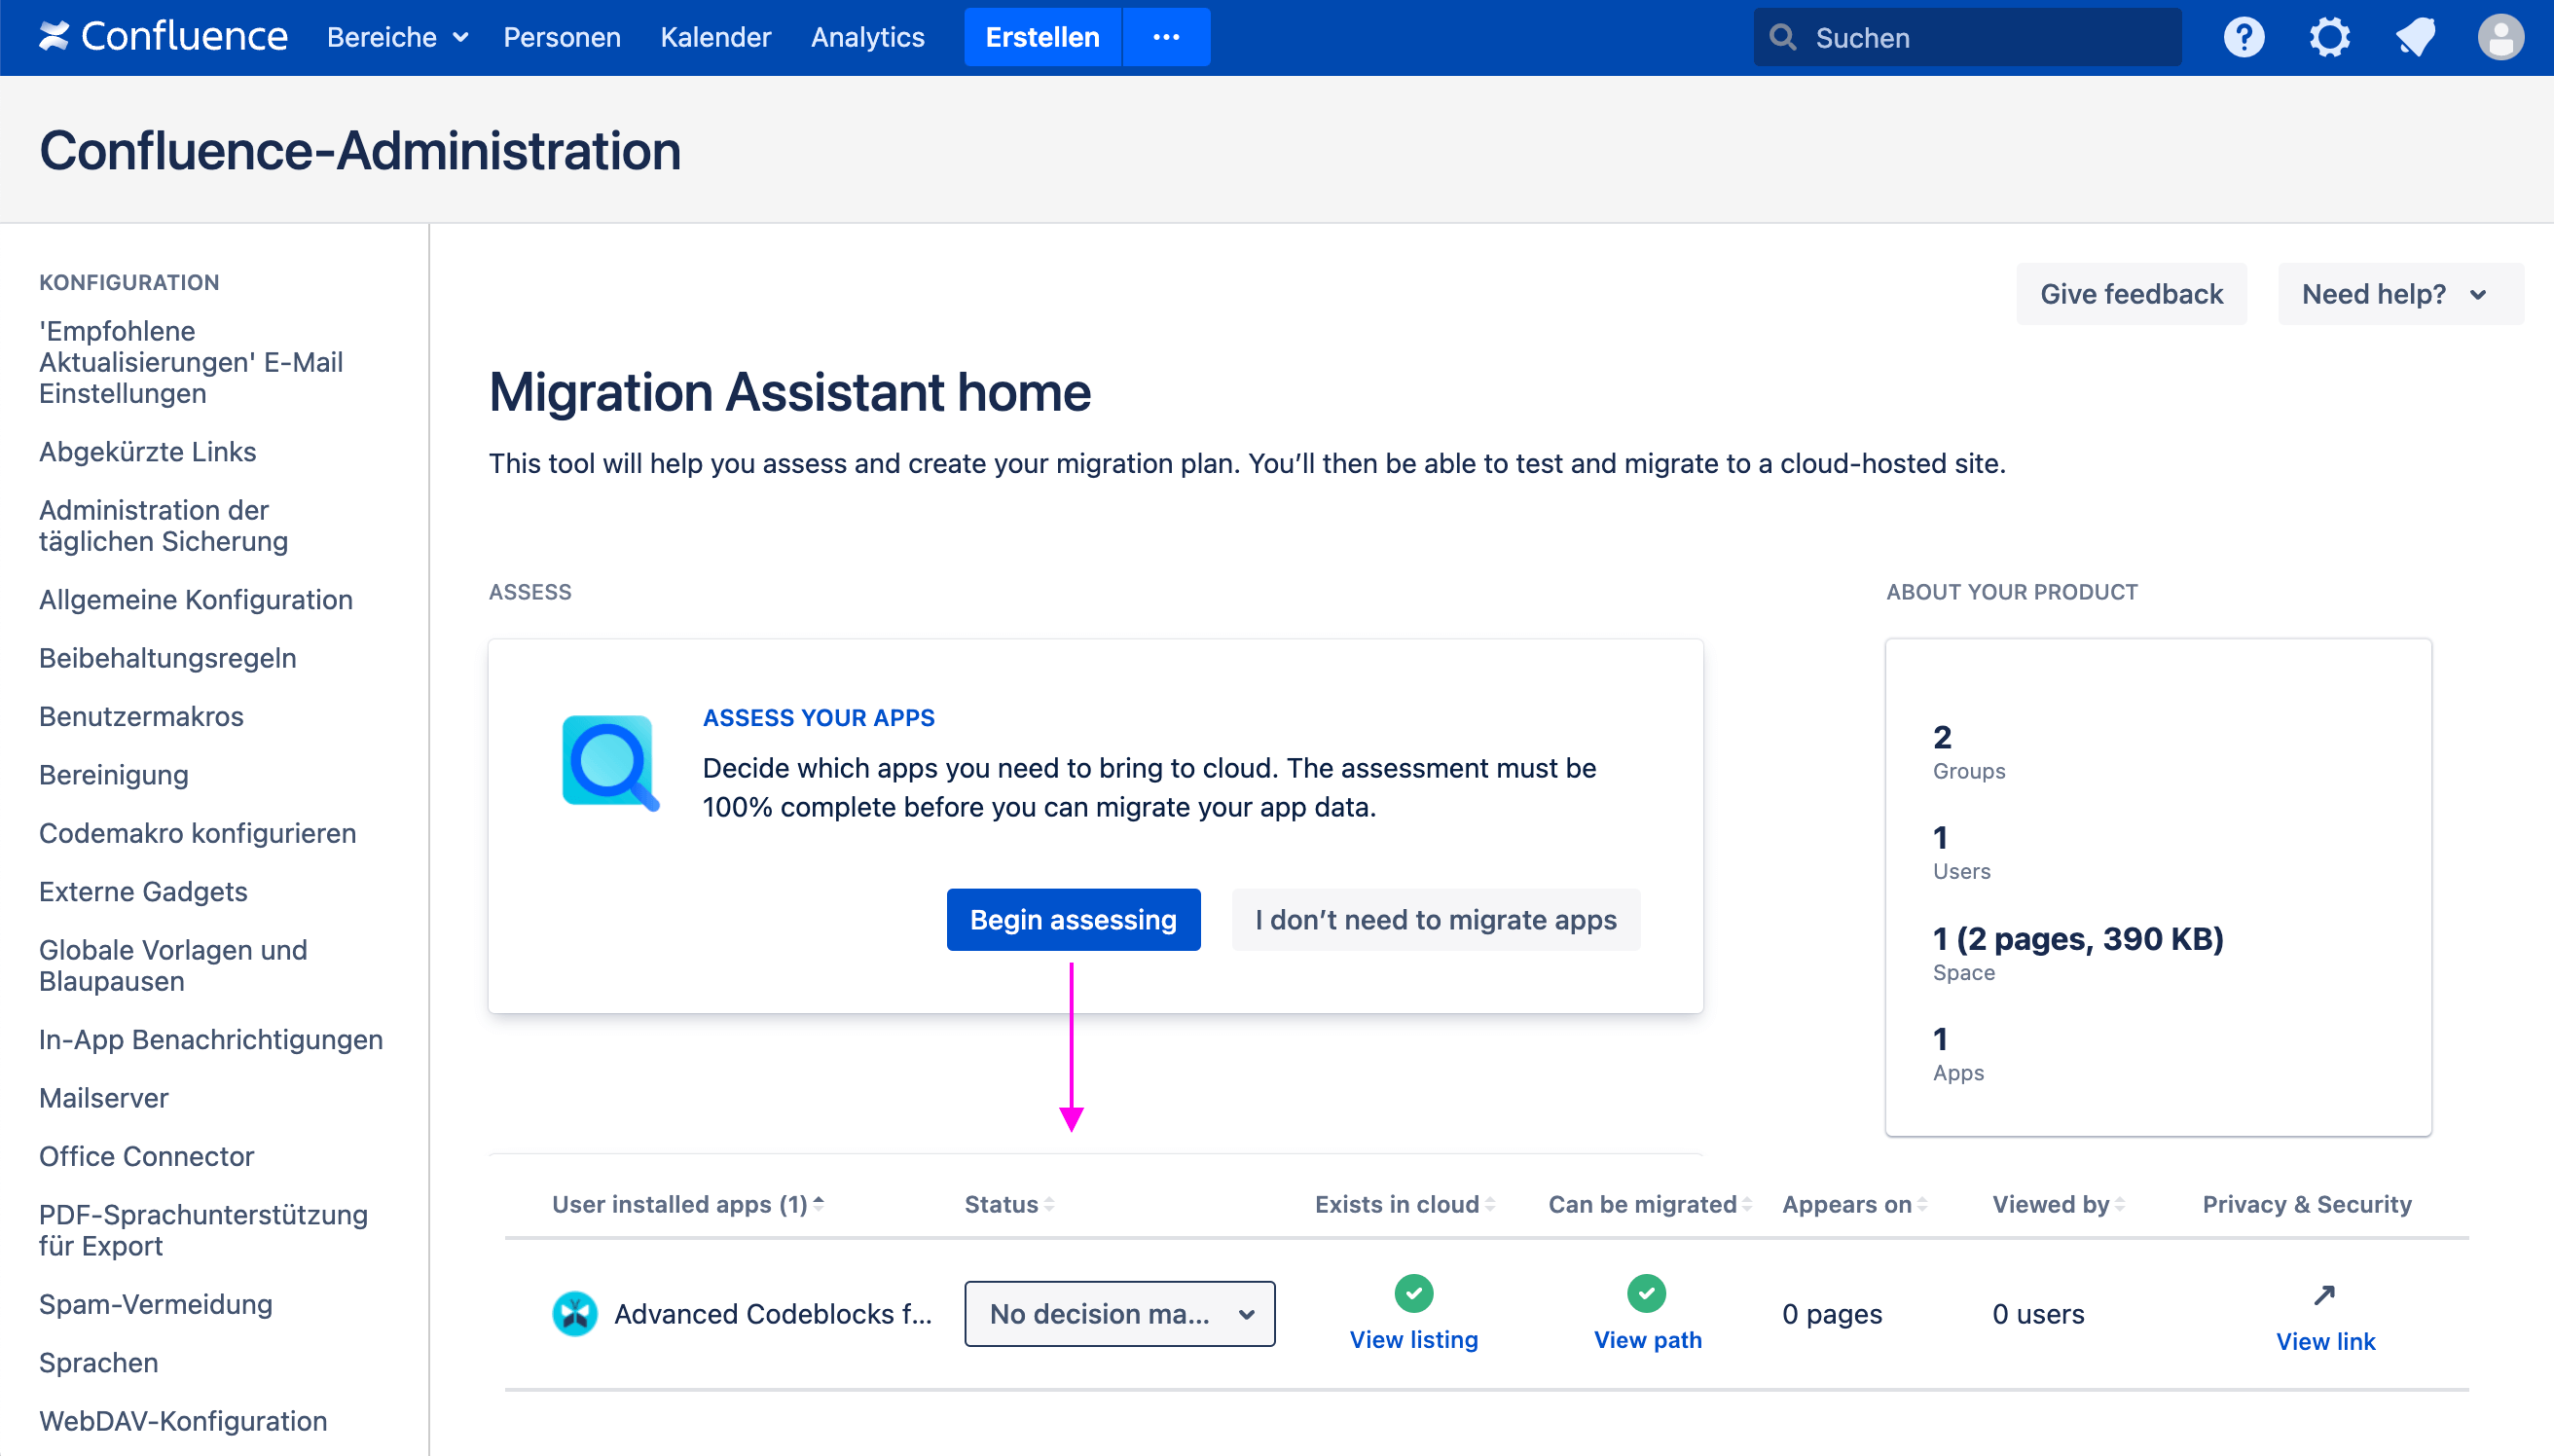
You can use the Confluence Cloud Migration Assistant to migrate your Confluence installation to Cloud.
You will need to perform the following steps:
- 1. Install Advanced Codeblocks for Confluence in your Cloud instance.
- 2. Run the cloud migration to migrate all your data.
- 3. Manually convert your pages containing the Advanced Codeblocks to the cloud storage format.
Manually migrate pages
After you have migrated your Data Center instance sucessfully to Cloud you need to manually migrate the storage format of pages containing the Advanced Codeblocks macros.
Introduction
Once you import a space export (XML) from your Data Center Confluence to Cloud or use the Migration Assistant, the Data Center macro will stay in Data Center storage format and the page will render a broken macro.
We developed our App with Atlassian Forge which is the latest servless App Plattform of Atlassian. Currently Atlassian does not provide an automated migration of storage format from DC/Server to Cloud. You can vote for FRGE-216 and MIG-771 so that Atlassian will implement an automated procedure soon.
That is why we need to perform this procedure semi-manual for each page that includes the macro.
Basically what we aim for is the conversion of the storage format in this way shown below. The example shows the storage format of the Advanced Codeblocks Single Macro in both Data Center and Cloud.
Data Center:
<p>some text</p>
<ac:structured-macro ac:name="advanced-single-codeblock-macro" ac:schema-version="1" ac:macro-id="0a76fb27-ee70-41a4-bead-063a0908804d">
  <ac:parameter ac:name="enableddl">true</ac:parameter>
  <ac:parameter ac:name="theme">light-mono</ac:parameter>
  <ac:parameter ac:name="lang">Bash</ac:parameter>
  <ac:parameter ac:name="globaltitle">test</ac:parameter>
  <ac:plain-text-body><![CDATA[echo "foo"]]></ac:plain-text-body>
</ac:structured-macro>
Cloud:
<p>some text</p>
<ac:adf-extension>
  <ac:adf-node type="extension">
    <ac:adf-attribute key="extension-type">com.atlassian.ecosystem</ac:adf-attribute>
    <ac:adf-attribute key="extension-key">9a81c16f-31e6-4be7-be6e-dfc872fe4155/35d2082a-431b-46b7-90da-75a526882f2f/static/advancedsinglecodeblockmacro</ac:adf-attribute>
    <ac:adf-attribute key="parameters">
      <ac:adf-parameter key="local-id">0658e817-aaf6-7e1d-8000-36a917095fd3</ac:adf-parameter>
      <ac:adf-parameter key="extension-id">ari:cloud:ecosystem::extension/9a81c16f-31e6-4be7-be6e-dfc872fe4155/35d2082a-431b-46b7-90da-75a526882f2f/static/advancedsinglecodeblockmacro</ac:adf-parameter>
      <ac:adf-parameter key="extension-title">Advanced Codeblocks Single</ac:adf-parameter>
      <ac:adf-parameter key="guest-params">
        <ac:adf-parameter key="globaltitle">test</ac:adf-parameter>
        <ac:adf-parameter key="code">echo "foo"</ac:adf-parameter>
        <ac:adf-parameter key="enableddl">
          <ac:adf-parameter-value>true</ac:adf-parameter-value>
        </ac:adf-parameter>
        <ac:adf-parameter key="theme">light-mono</ac:adf-parameter>
        <ac:adf-parameter key="lang">Bash</ac:adf-parameter>
      </ac:adf-parameter>
    </ac:adf-attribute>
    <ac:adf-attribute key="text">Advanced Codeblocks Single</ac:adf-attribute>
    <ac:adf-attribute key="layout">default</ac:adf-attribute>
    <ac:adf-attribute key="local-id">0658e817-aaf6-7d86-8000-4dd60f28b018</ac:adf-attribute>
  </ac:adf-node>
  <ac:adf-fallback>
    <!-- shortened ... -->
  </ac:adf-fallback>
</ac:adf-extension>Note: The conversion of the storage format itself will be performed for each page automatically by our Cloud Migration Helper.
Step 1: retrieve extension key part
You have seen the different storage formats for Data Center and Cloud above. One thing of the Cloud storage format is specific to your Confluence instance, and that is the <ac:adf-attribute key="extension-key"> element. In the storage format it looks like this:
<ac:adf-attribute key="extension-key">9a81c16f-31e6-4be7-be6e-dfc872fe4155/35d2082a-431b-46b7-90da-75a526882f2f/static/advancedsinglecodeblockmacro</ac:adf-attribute>And we need the first part, with the UUIDs extracted like so:
9a81c16f-31e6-4be7-be6e-dfc872fe4155/35d2082a-431b-46b7-90da-75a526882f2f
To retrieve your installation specific extension key part, do the following:
a) Insert the Advanced Codeblocks Single macro into an empty page
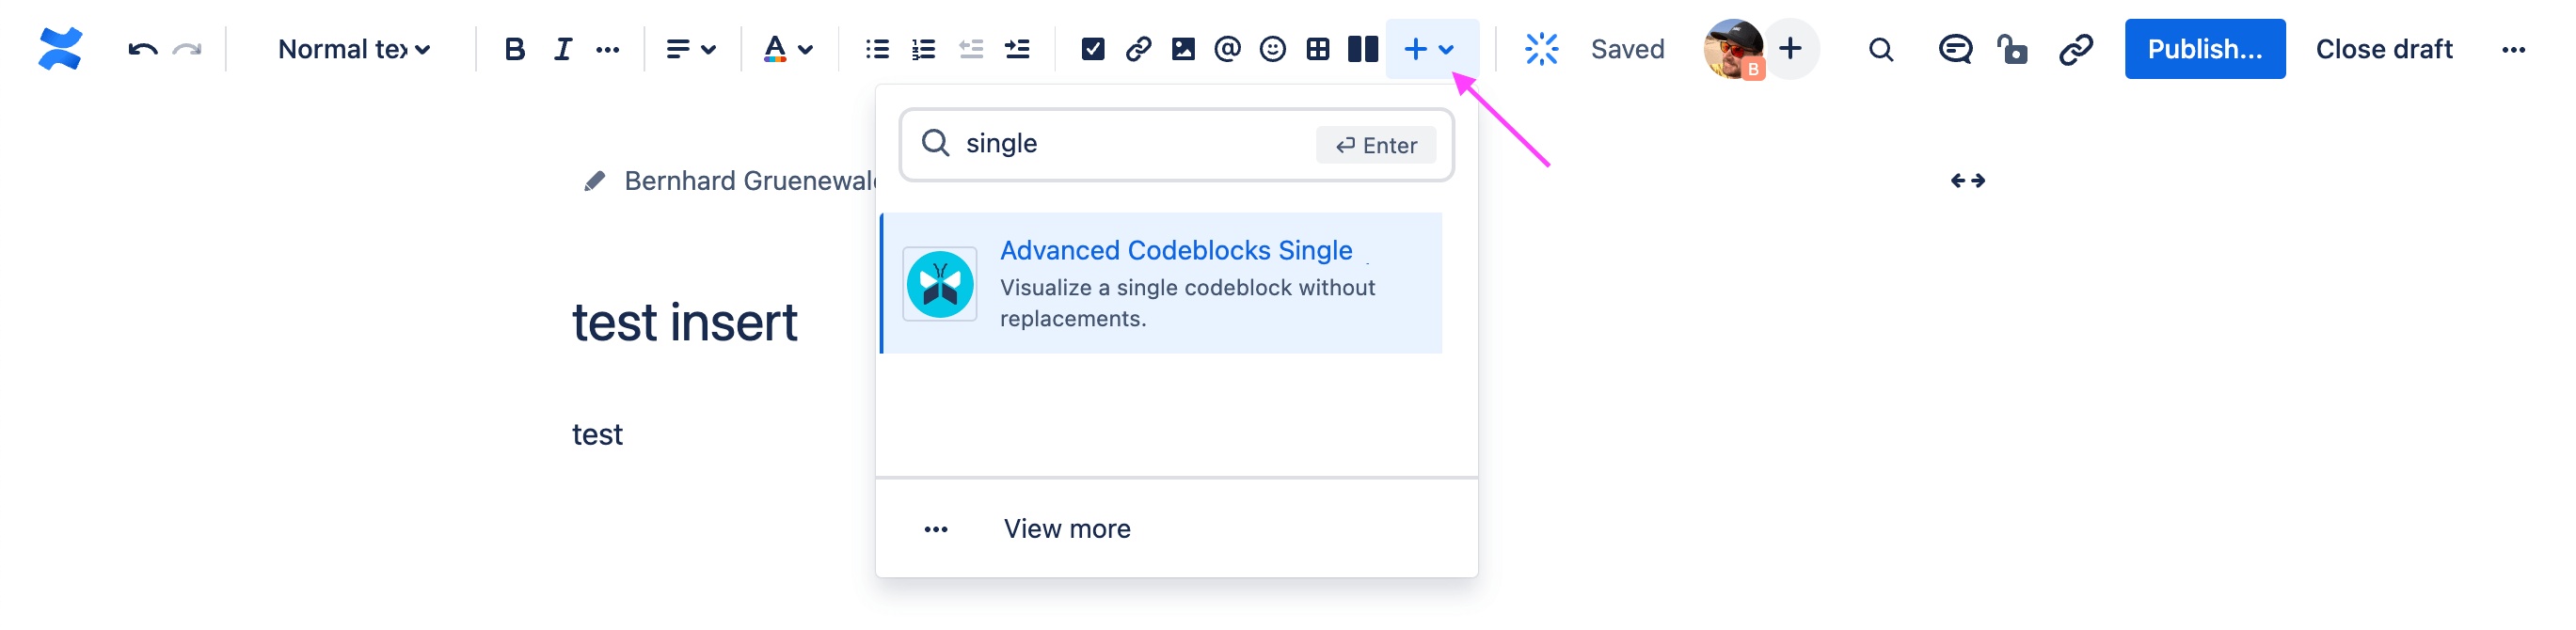
b) Publish the page and click on the ›⋯ more actions‹ button, then on ›Advanced Details‹ and ›View Storage Format‹

c) Find the <ac:adf-attribute key="extension-key"> element and extract the value and save it for later. It should look like so. Just discard the /static/... at the end.
9a81c16f-31e6-4be7-be6e-dfc872fe4155/35d2082a-431b-46b7-90da-75a526882f2f
Step 2: Find all Confluence Pages that contain Advanced Codeblocks Macros
Luckily the REST API can help us find all pages containing the Data Center storage format macros in our Cloud installation.
Basically we will search with the /rest/api/content/search?cql=...&expand=body.storage Endpoint with the following cql query. The expand=body.storage parameter will directly show the storage format, which we can save to file to be converted.
cql=(macro="advanced-single-codeblock-macro" or macro="advanced-codeblock-macro" or macro="advanced-remote-codeblock-macro")A full request will look like so:
curl https://{your-domain}/wiki/rest/api/content/search \
-G -H "Accept: application/json" \
-H "Content-Type: application/json" \
-u "email@example.com:<api_token>" \
-d cql=(macro=%22advanced-single-codeblock-macro%22%20or%20macro=%22advanced-codeblock-macro%22%20or%20macro=%22advanced-remote-codeblock-macro%22) \
-d expand=body.storage
The result will be a list of pages and you will need to save each result[i].body.storage.value to a file called result[i].id, meaning the storage format will be saved to a file named after the content id for example 98415.storage. Keep an eye out for the encoding of the storage format. Maybe it is better to call the result[i].body._expandable.content endpoint and save the storage format in a single call, to retain correct content encoding.
{
  "start": 0,
  "limit": 25,
  "size": 2,
  "results": [
    {
      "id": "98415",
      "type": "page",
      "status": "current",
      "title": "Hello",
      "body": {
        "storage": {
          "value": "<p>hello</p><p /><ac:structured-macro ac:name="advanced-single-codeblock-macro" ac:schema-version="1" data-layout="default" ac:macro-id="fc8e21fb-5355-4....</ac:structured-macro><p />",
          "representation": "storage",
          "_expandable": { "content": "/rest/api/content/98415" }
        }
      }
    },
    {
      "id": "1248952323",
      "type": "page",
      "status": "current",
      "title": "ACDEMO1 PAGE1",
      "body": {
        "storage": {
          "value": "<p>x</p><ac:structured-macro ac:name="advanced-codeblock-macro" ac:schema-version="1" ac:macro-id="cb0c6776-3513-4cc0-ba44-2019fb.....</ac:structured-macro>",
          "representation": "storage",
          "_expandable": { "content": "/rest/api/content/1248952323" }
        }
      }
    }
  ]
}
Step 3: Convert storage format of a single page
Now we will use the Cloud Migration Helper and migrate each saved page in storage format to the cloud representation. You will need Python v3.12 and Git installed.
Now we need the extension key part from step 1 and will convert the example file 98415.storage to 98415.cloud.storage.
Do this for all page files and check the converted *.cloud.storage files for errors.
DISCLAIMER: Please check the output storage file for errors before submitting it into your Confluence page. codeclou GmbH is not responsible for damages to your Confluence installation and/or content. Please test the output on a test instance first. This tool is provided as an example on how to transform your storage format from server to cloud. It might need further adaption to your specific needs.
Step 4: Update storage format for single page
Now that you have the converted storage format you can update the page via the Update page v2 Rest Endpoint. At first you should get the page title and latest version first via the Get Page by id endpoint.
Now you can update the example page with id 98415 like so:
curl https://{your-domain}/wiki/api/v2/pages/98415 \
-X PUT \
-H "Accept: application/json" \
-H "Content-Type: application/json" \
-u "email@example.com:<api_token>" \
--data '{
  "id": "98415",
  "status": "current",
  "title": "<CURRENT TITLE FROM GET PAGE BY ID>",
  "body": {
    "representation": "storage",
    "value": "<CONTENT FROM 98415.cloud.storage>"
   },
   "version": {
     "number": <VERSION FROM GET PAGE BY ID + 1>,
     "message": "migration"
   }
}'
Once you have done this for every page, you have sucessfully migrated to cloud.